Form Management Interface
The survey form and note type form settings are displayed on a series of tabs in the form management folder. Each tab is focused on a particular aspect of the form, such as the Question Fields tab for managing the fields and sections on the form. While each tab is different, the top menu and left side form info panel remain the same to make it easy to identify which form you are working on.
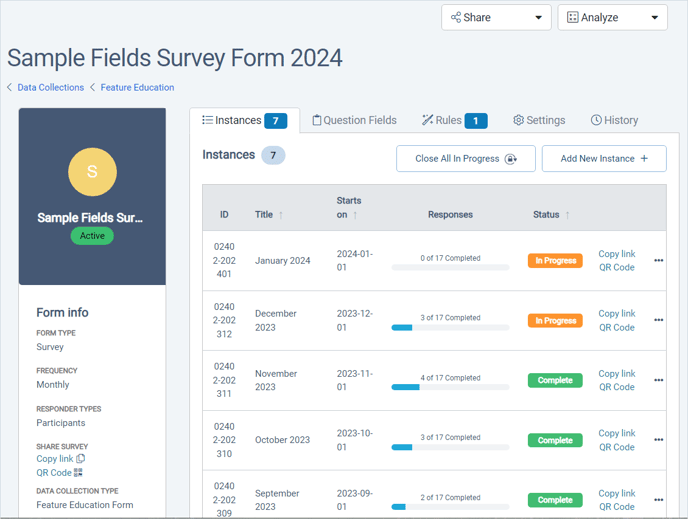
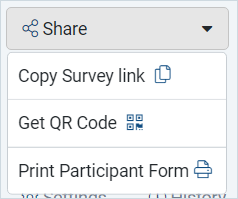
The Share and Analyze menus are present at the top of the form management folder regardless of what tab is active.

Share menu: Copy Link, Get QR Code, Print Survey Form
Both the Copy Link and the QR Code will produce a link to take the survey. This survey level link will automatically start a new instance if one is needed.
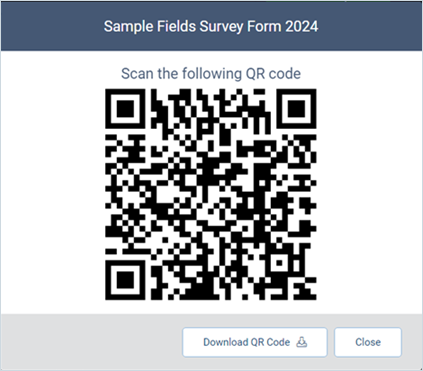
The QR Code displays the link as a square image that mobile device cameras will recognize as a website address.
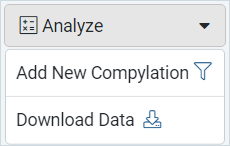
Analyze menu: Add New Compylation, Download Data
Once there is at least one completed instance of the form, the Add New Compylation option appears for creating calculations in Analytics. The Download Data button will export the survey or note form records as a CSV file, which will appear on the Data Collection > My Downloads page.
Form Info Panel
The Form Info Panel is another constant presence in the form management folder. It contains lots of important details about the form settings.
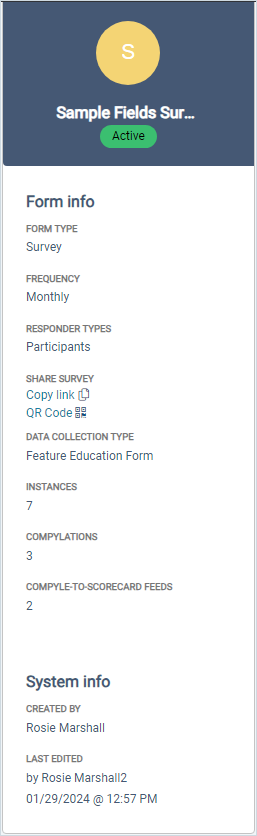
- Form type: Survey or Note Type Form
- Frequency: The time period or calendar, such as monthly or annual.
- Responder Types: Participants, Organizations, Anonymous
- Share Survey: Copy link, Get QR Code
- Data Collection Type: The category for the survey form
- Instances: Count of instances or different time periods when information was gathered
- Compylations: Count of analytics reports using this survey form
- Compyle-to-Scorecard Feeds: Count of summary data transfers to Scorcard using data from this form
- System Info: Who created the form. Who last updated it. When it was last edited.
Instances tab
The instances tab shows all of the instances for the survey or note form. If there are more than ten, there will additional pages of instances. Clicking the name of an instance will open the familiar instance view.
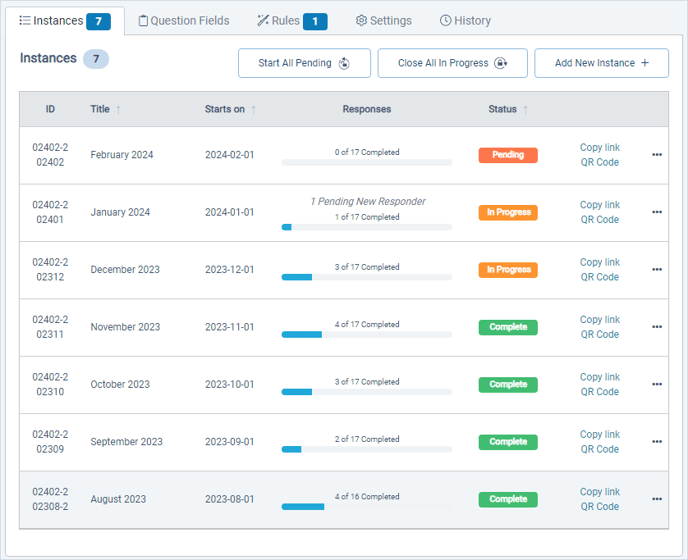
For survey forms, the Add New Instance button is always present, but the Start All Pending and Close All in Progress buttons only appear when there are pending or in progress instances, respectively. These buttons are not available for note type forms, which can only be added through the participant folder or through a public link.
Question Fields tab
The Questions Fields tab is where you can view and edit the sections and fields on a form.
Initially, the tab displays the fields in view mode.
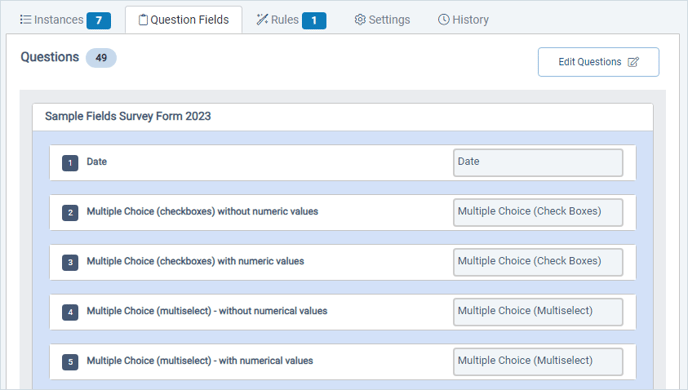
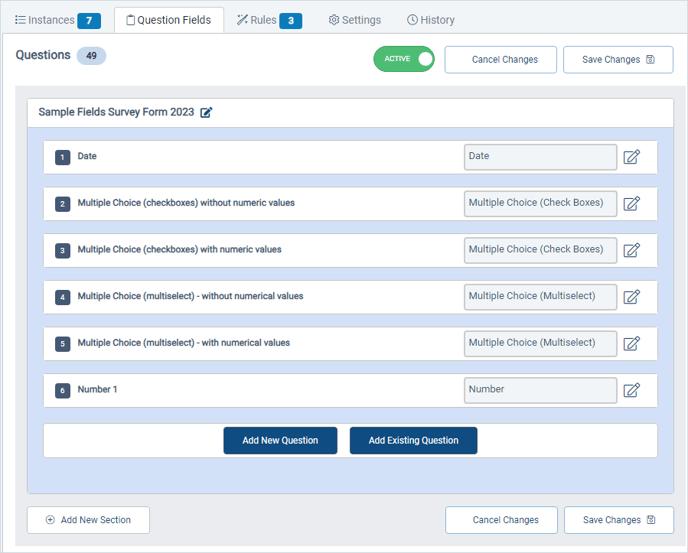
The Edit Questions button opens up the form for editing. Fields and Sections can be added and edit. Fields can be reordered as well.
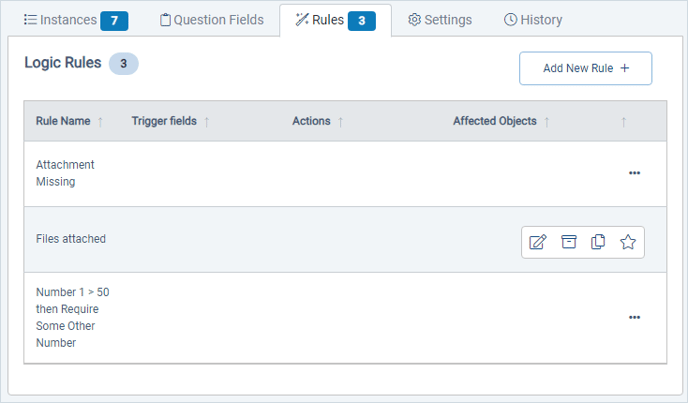
Rules tab
Form Logic rules can be added, edited, copied, and deactivated on the Rules tab. The total number of rules will be shown at the top.
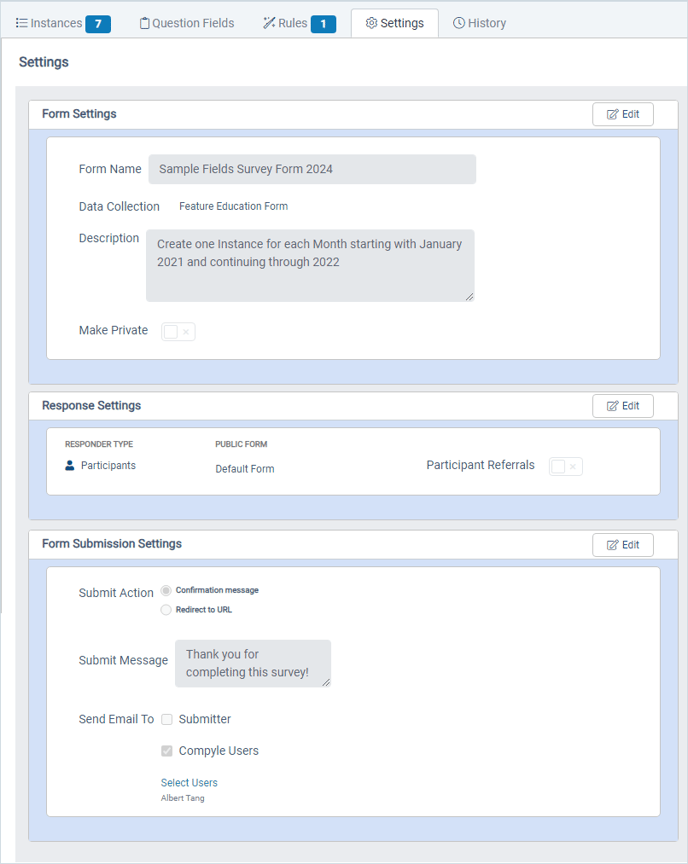
Settings tab
The Settings tab is where you manage the form's basic details, such as name and data collection. You can also adjust who can respond and what happens when the form is submitted.
Previously, this information was edited through the a multi-column header at the top of the survey form page.
Form Settings section
This is where you can rename the form, transfer it to a new data collection, make it private for administrator viewing only, and even copy the form.

Response Settings
This is where you can allow outside referrals, set login page instructions for returning participants, and choose which public form new responders will fill out.
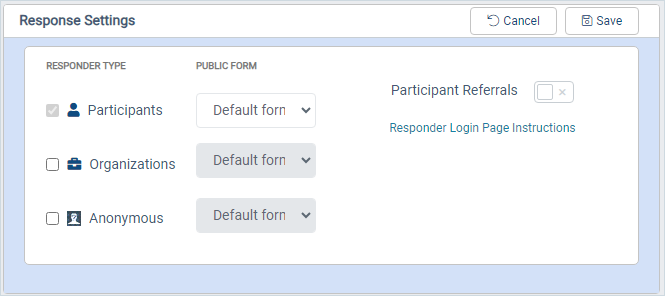
Anonymous responses are a feature of Unlimited Suite sites and will not be available in all sites.
Form Submission Settings
In the Form Submission section, you can enter a message for external participants and anonymous responders see after they submit the form. You can also send the submitter a confirmation email. Additionally, you can select who among your Compyle users will receive an email alert when new responses are submitted.

When changes are made on the Settings tab it is important to click the Save button for that section to keep those changes.
History tab
On the History tab, you can view a record of changes to the form settings and all of the activity for all instances of the form. None of the information on the History tab can be changed on this tab, but changes made to the form instances, fields, and settings will appear here.
